
Tags
Time to see how much making pita bread is! AND I actually remembered to take pictures throughout the process for you. 😉
The recipe I followed for this post was the Serious Eats: Perfect Homemade Pita Bread recipe.
First you add all of the ingredients to your mixer or your food processor (in the processor, I would add the dry ingredients first (pulse) and then add the wet ones.) Or you can do this with just a wooden spoon (like the recipe above.) I really like the combo of the white and wheat flour, but you can use what you have on hand.
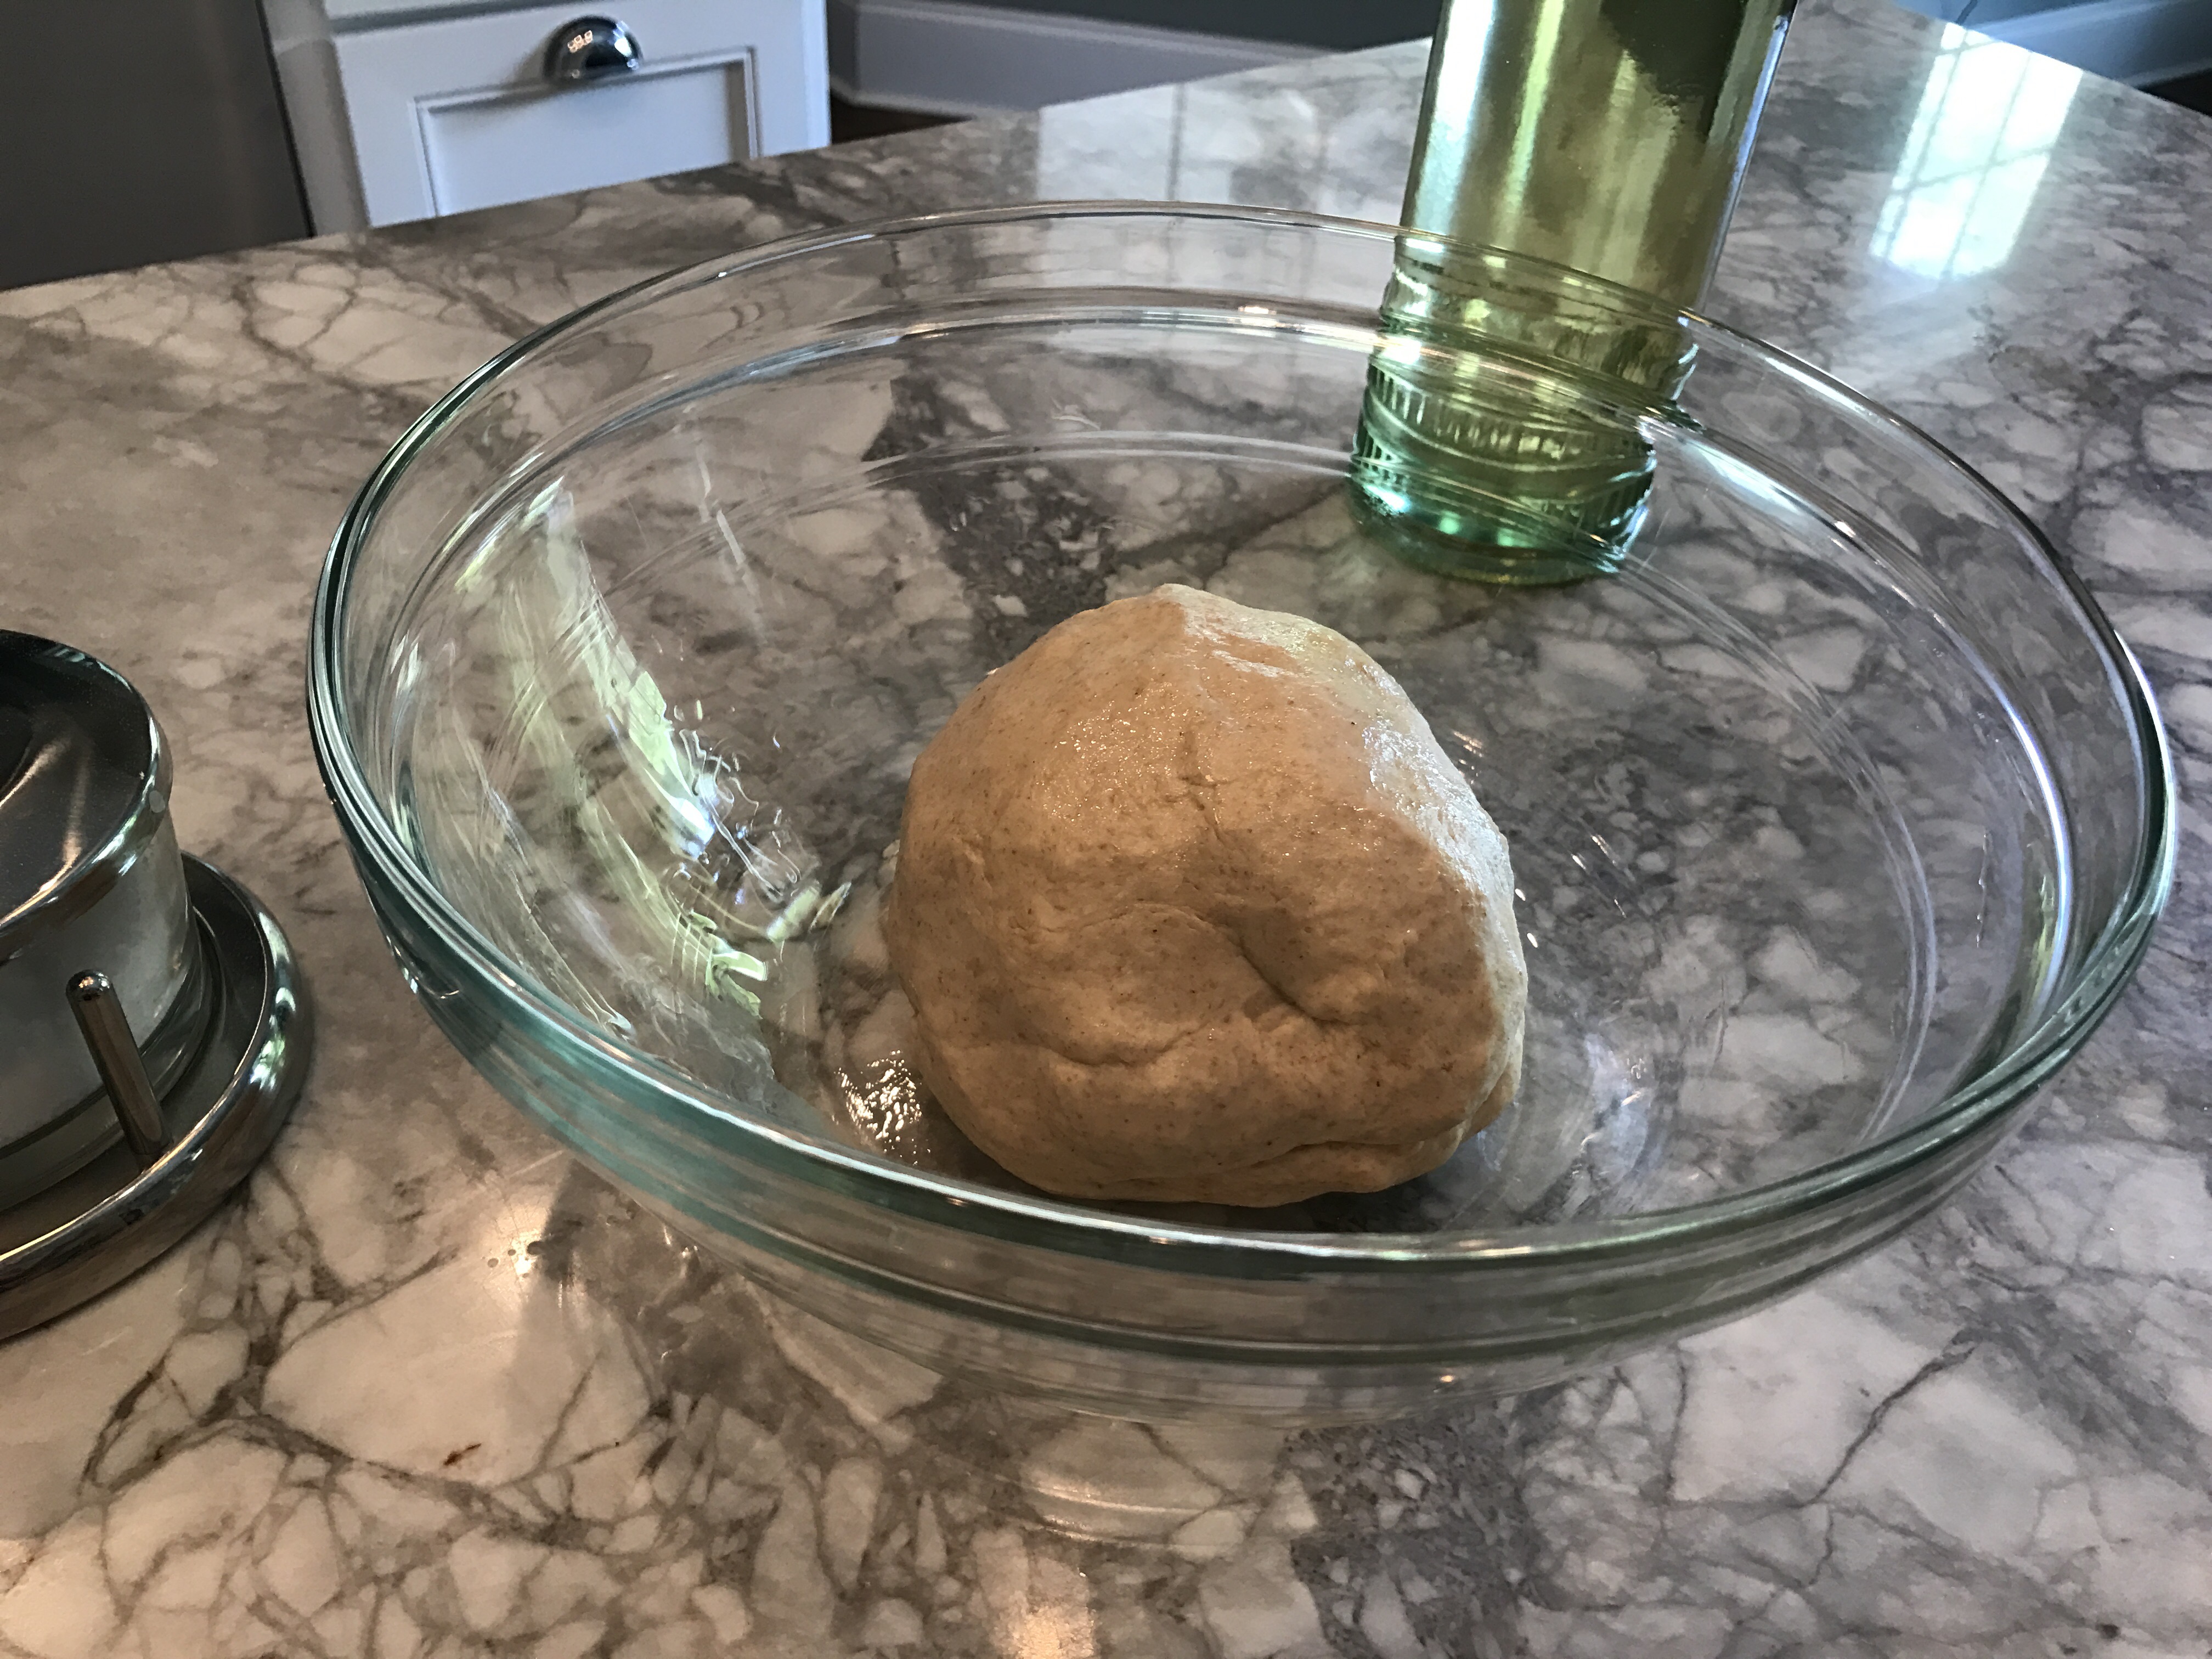
Once it comes together, keep the machine going for a couple minutes to “knead” it. Then place the dough in a lightly oiled bowl.
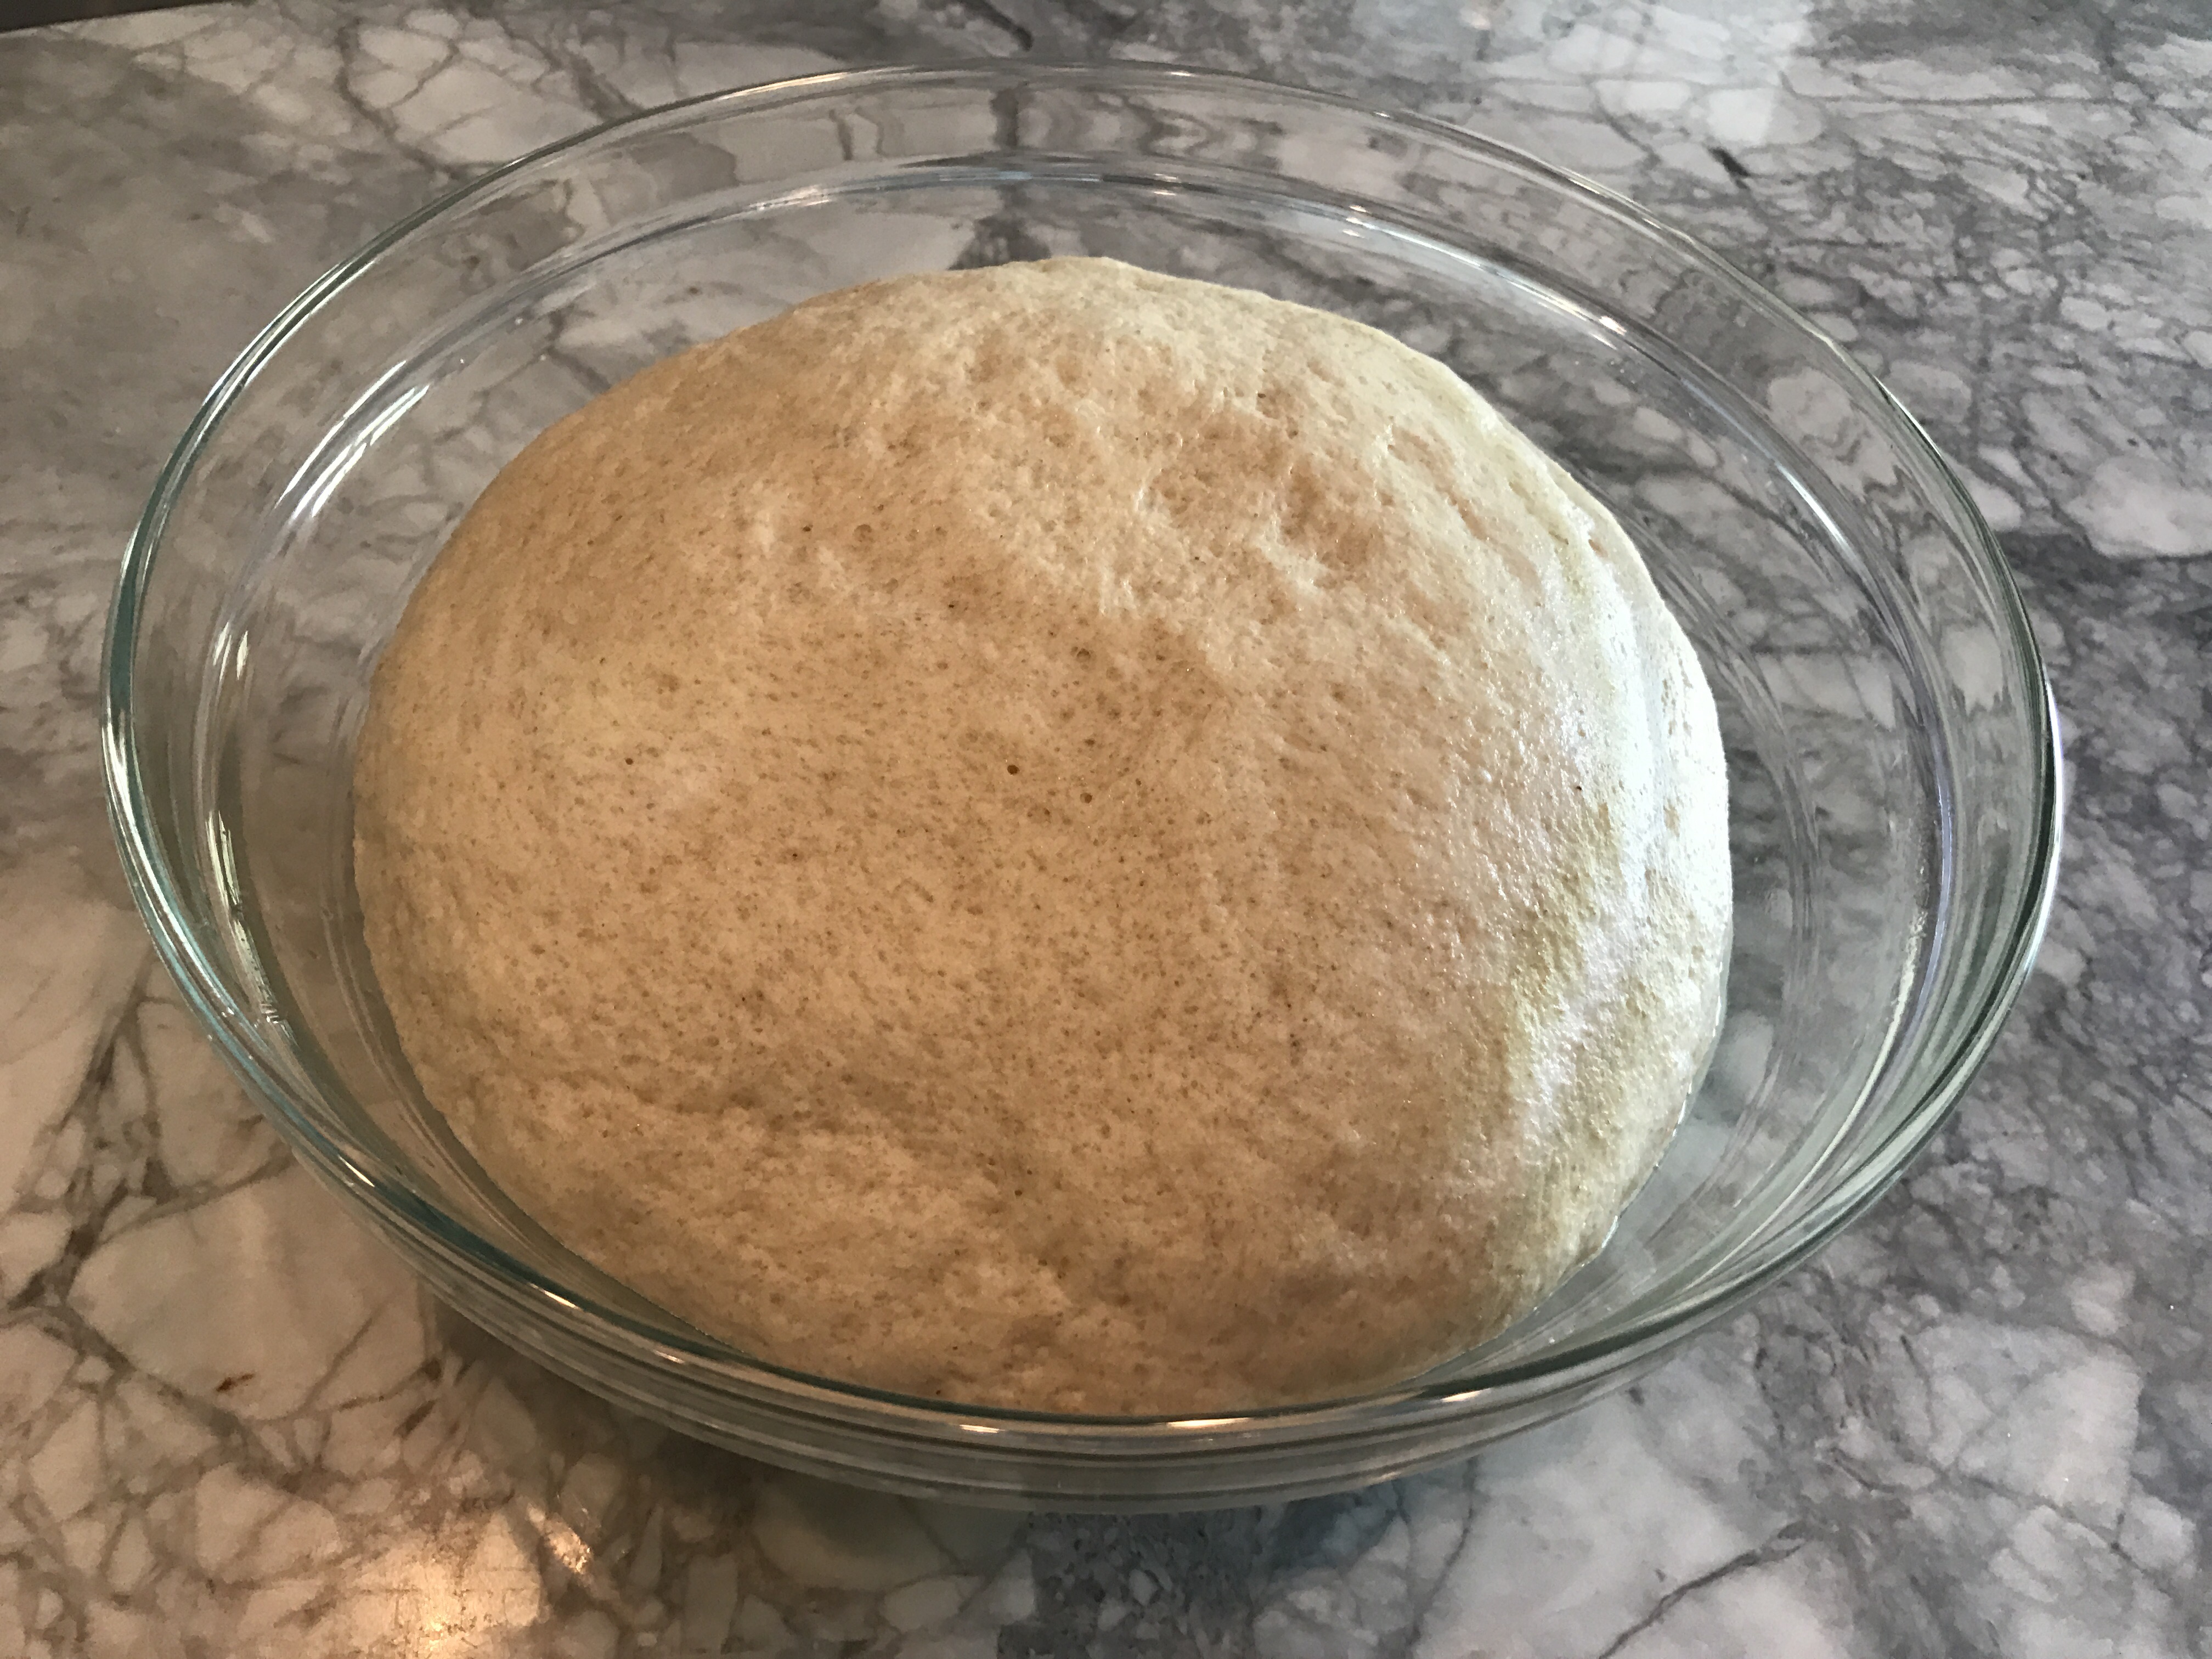
Let rise for an hour or two. I like to put my oven on its lowest setting, and then turn it off before putting the covered bowl in there to rise. It gets nice and puffy. At this point, I put my griddle in the oven and preheat to 500 degrees.
I then separated into fairly equal balls – I weighed the dough and divided by 3 ounces (for each ball.) Cover the balls of dough with a kitchen towel and let them rest.

Then I roll each ball out to a circle. The dough bounces back a little bit, but try and get it pretty thin. Then cover the circles with the towel so that they don’t dry out.
Throwing the circles on the griddle can be a little tricky, but the ugly pita tastes just as good as the pretty pita. Most of them will puff up nicely and give you a lovely pocket for your sandwiches.
Flip and let brown for a couple seconds, and then take out and place with the rest – wrapped in a towel.
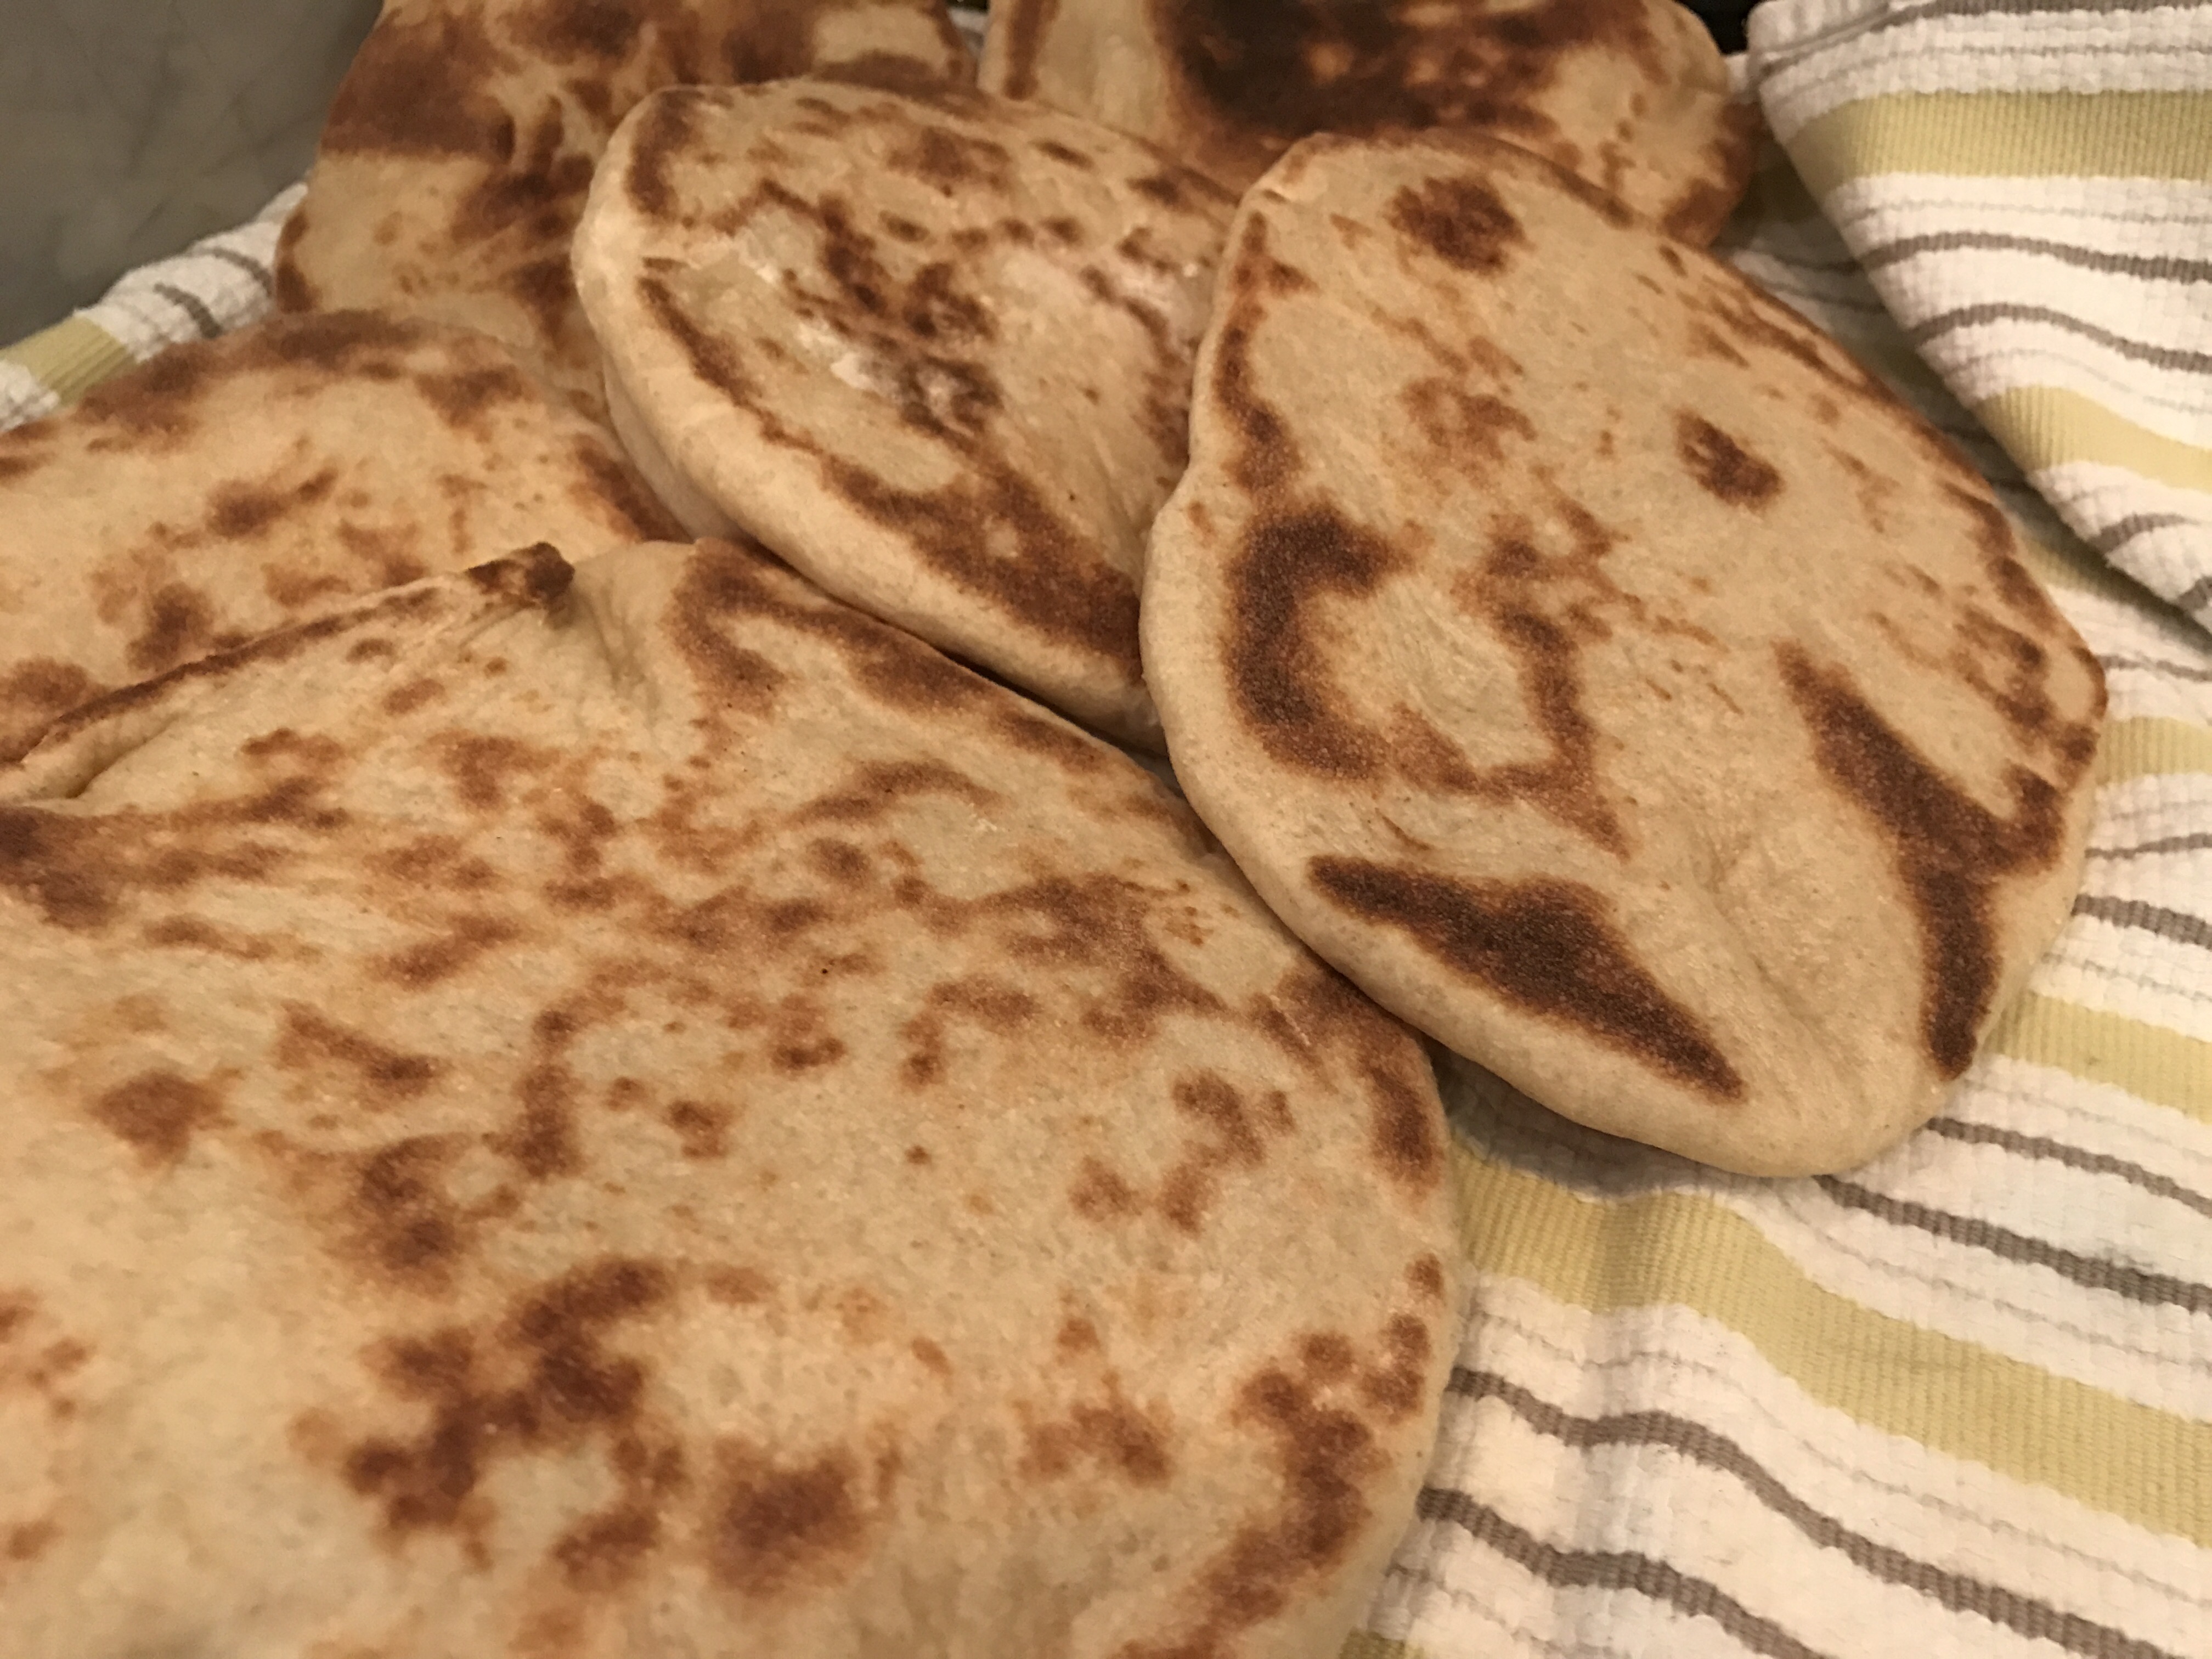
So pretty, and they really are delicious. Since they do not have any preservatives, keep them in the fridge if you still have some left after a couple days. You could probably freeze them as well. Happy Pita making!
